⚙️ Mechanism
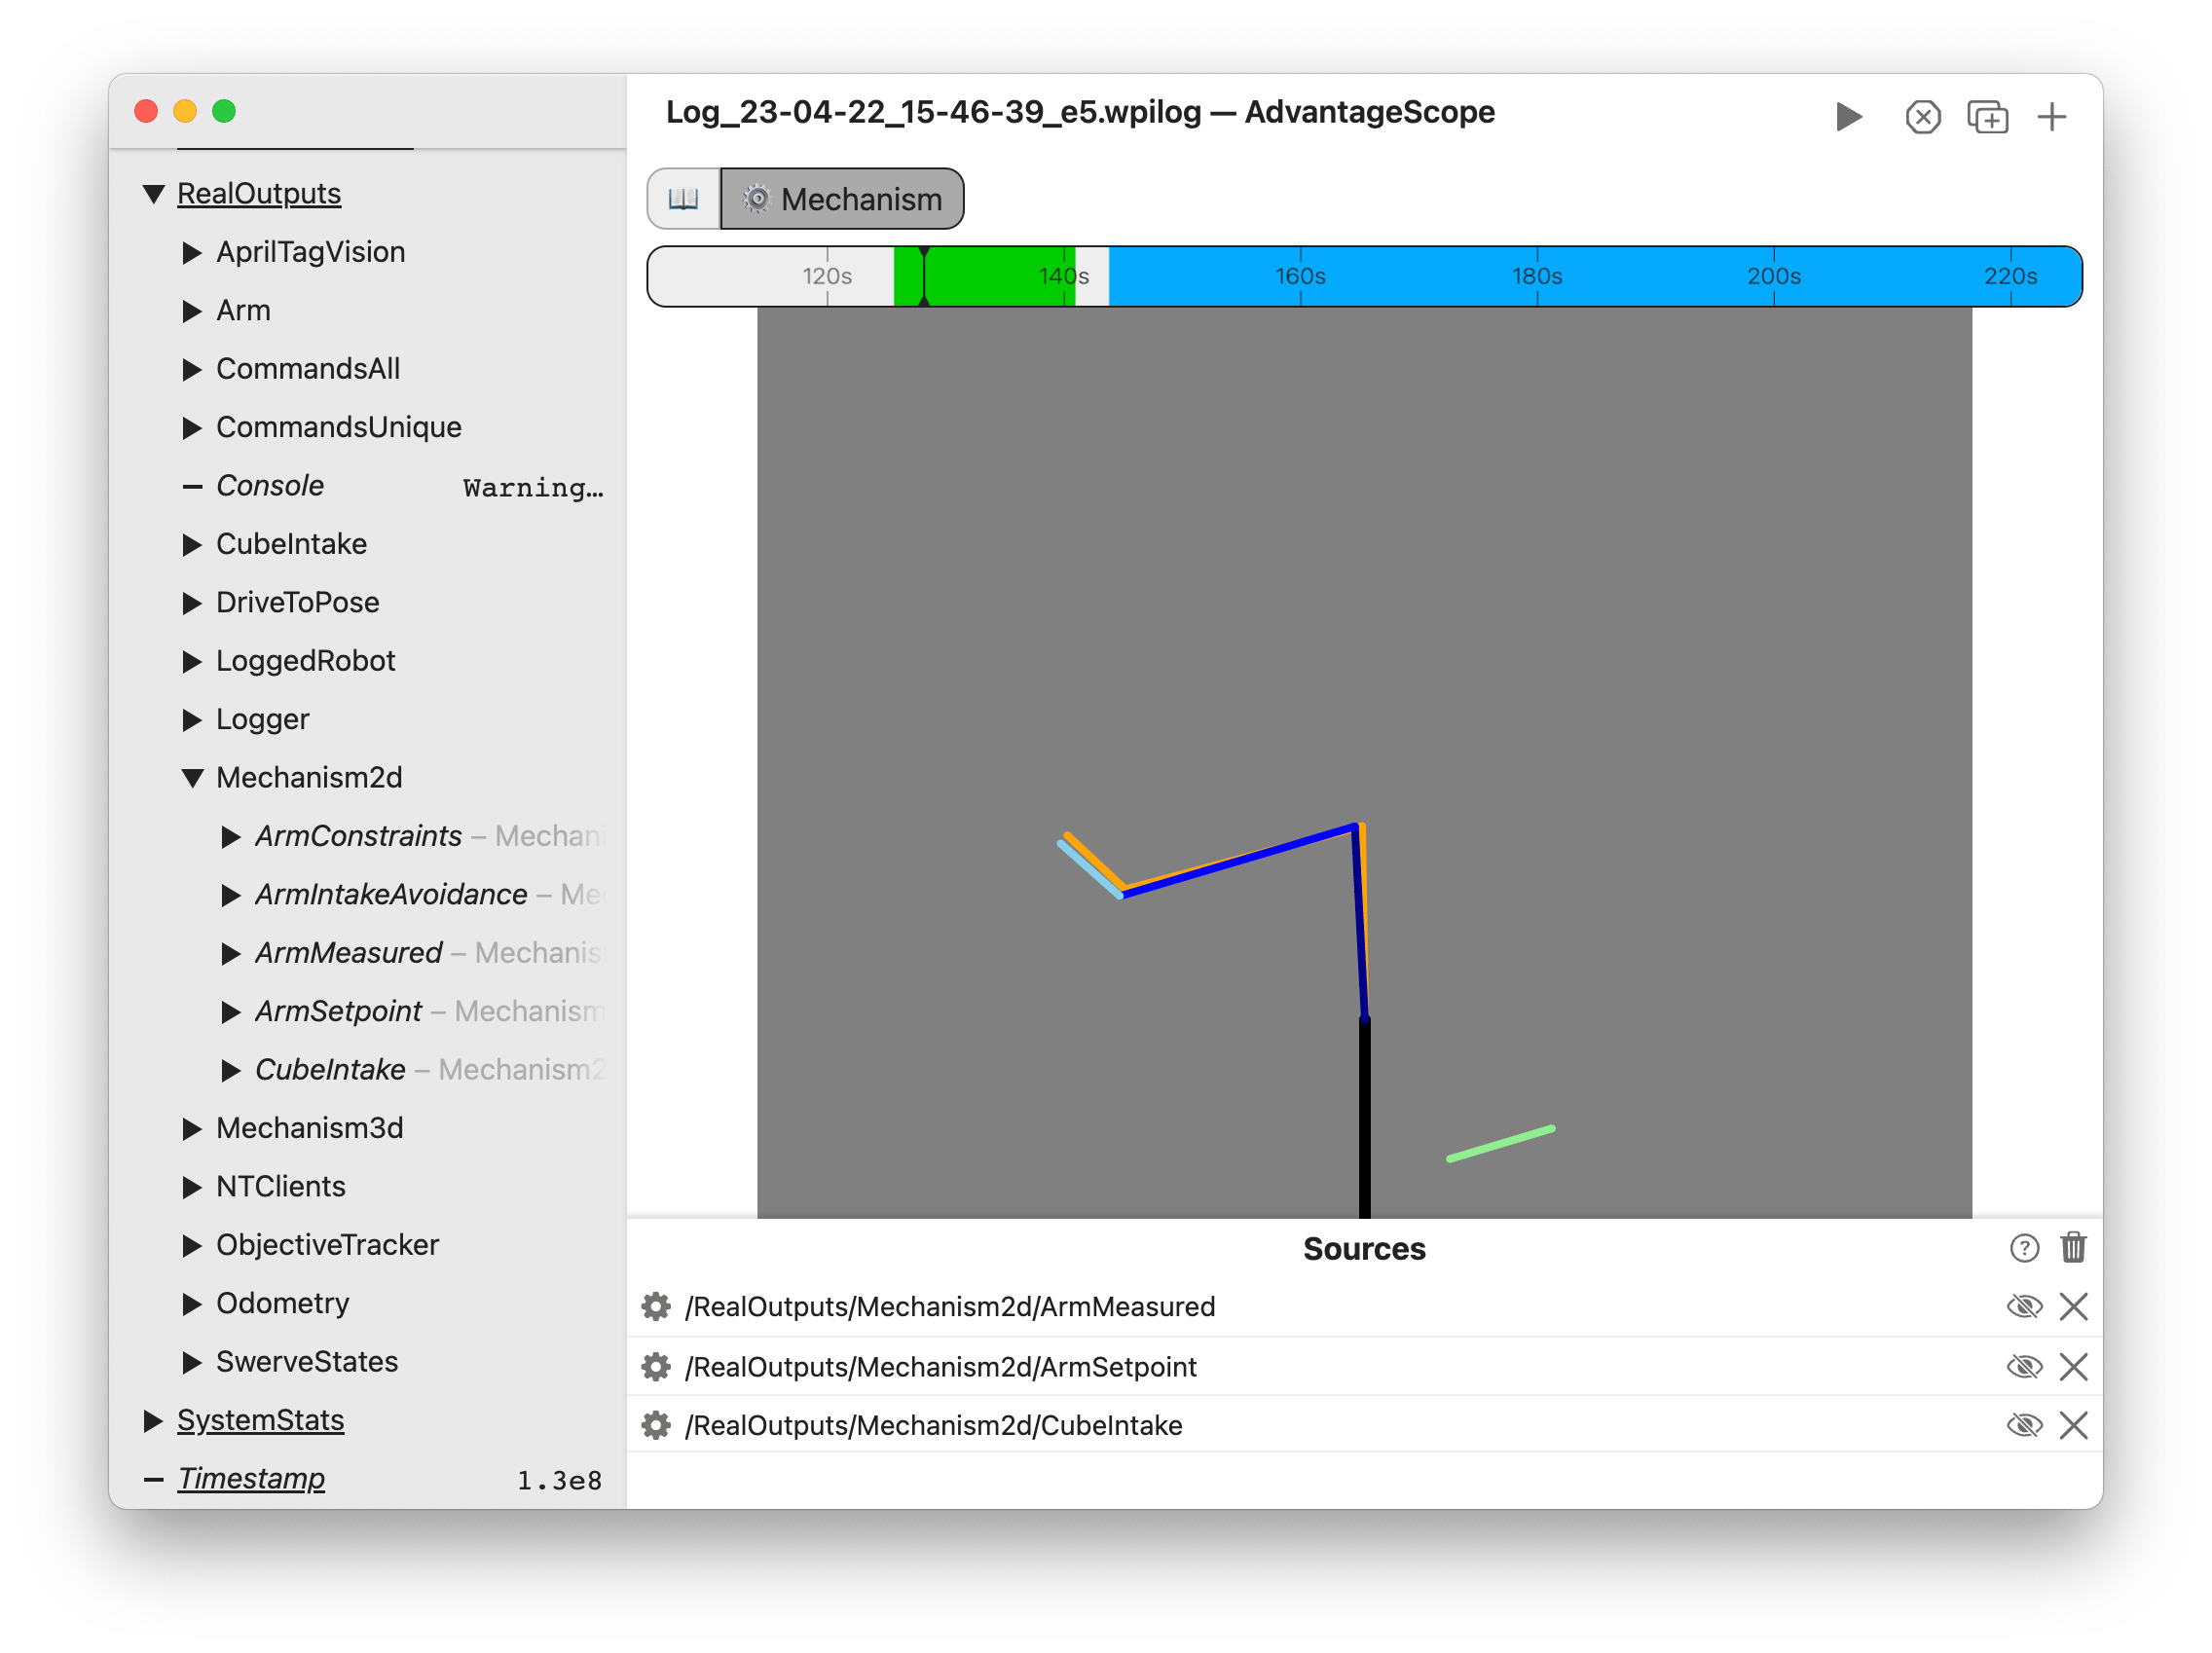
The mechanism tab displays a a jointed mechanism created with one or more Mechanism2d objects.

Timeline Controls
The timeline is used to control playback and visualization. Clicking on the timeline selects a time, and right-clicking deselects it. The selected time is synchronized across all tabs, making it easy to quickly find this location in other views.
The green sections of the timeline indicate when the robot is autonomous, and the blue sections indicate when the robot is teleoperated.
To zoom, place the cursor over the timeline and scroll up or down. A range can also be selecting by clicking and dragging while holding Shift. Move left and right by scrolling horizontally (on supported devices), or by clicking and dragging on the timeline. When connected live, scrolling to the left unlocks from the current time, and scrolling all the way to the right locks to the current time again. Press Ctrl+\ to zoom to the period where the robot is enabled.

Adding Mechanisms
To get started, drag a Mechanism2d to the control pane. Delete a mechanism using the X button, or hide it temporarily by clicking the eye icon or double-clicking the field name. To remove all mechanisms, click the trash can near the axis title and then Clear All. Mechanisms can be rearranged in the list by clicking and dragging.
Publishing Data
- WPILib
- AdvantageKit
To publish mechanism data using WPILib, send a Mechanism2d object to NetworkTables (shown below). If data logging is enabled, the mechanisms can also be viewed based the generated WPILOG file.
Mechanism2d mechanism = new Mechanism2d(3, 3);
SmartDashboard.putData("MyMechanism", mechanism);
To publish mechanism data using AdvantageKit, record a Mechanism2d as an output field (shown below). Note that this call only records the current state of the Mechanism2d, so it must be called every loop cycle after the object is updated.
LoggedMechanism2d mechanism = new LoggedMechanism2d(3, 3);
Logger.recordOutput("MyMechanism", mechanism);